How to replace and reset the Grohe Blue filter
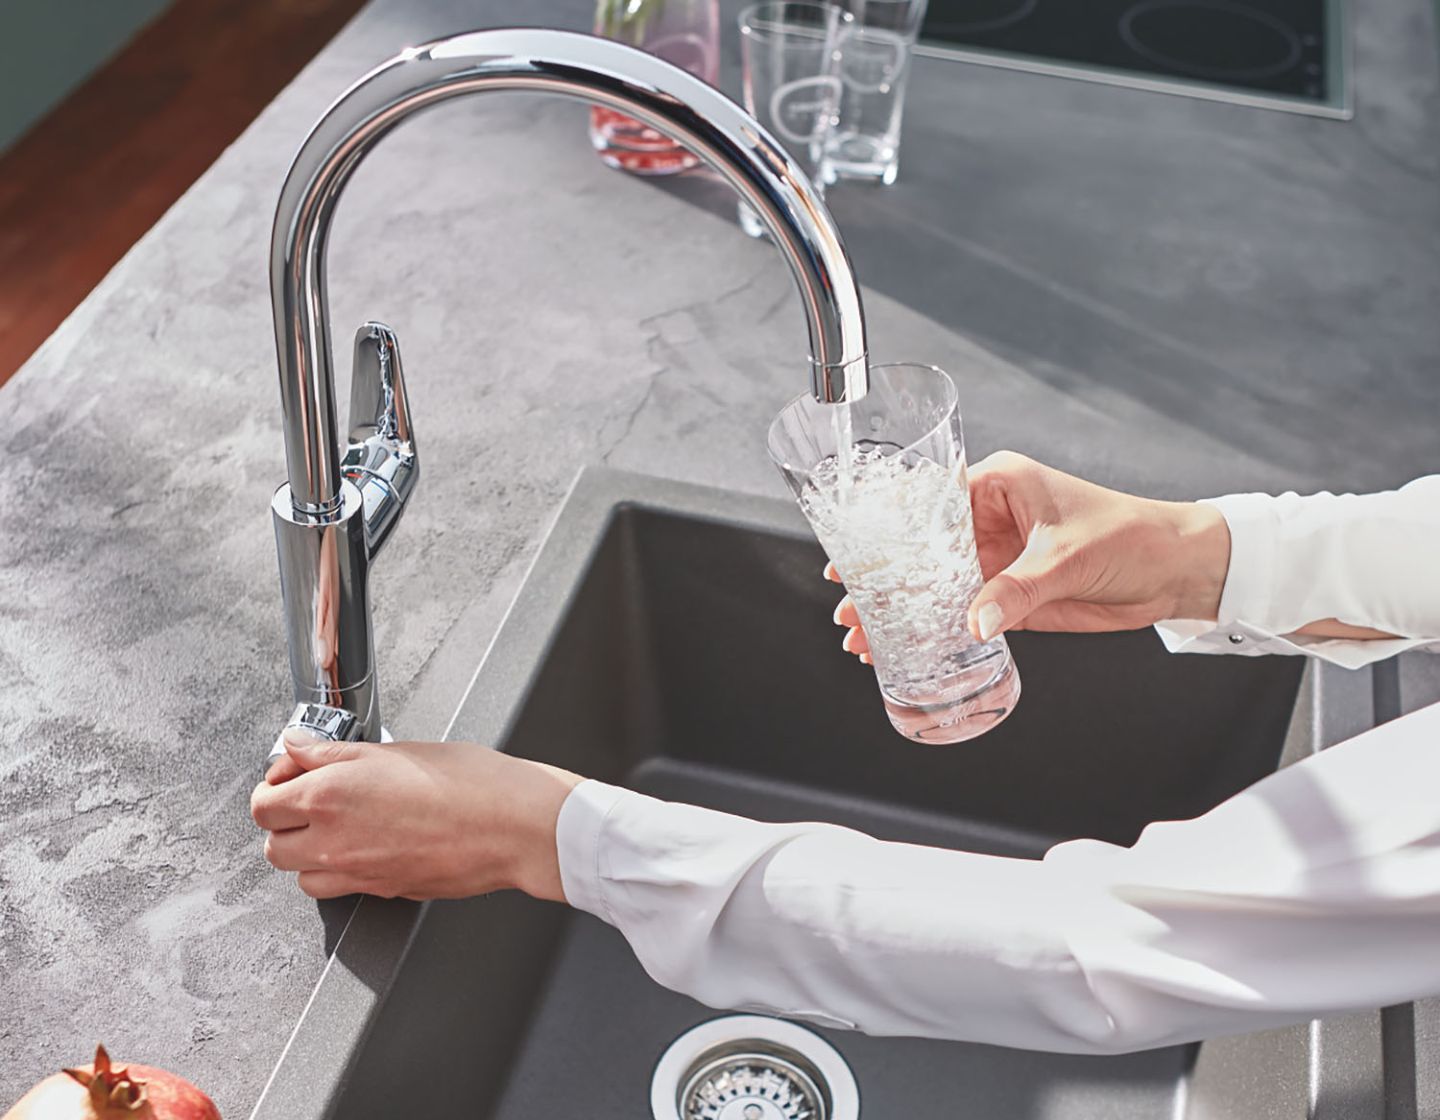
Your Grohe Blue system gives you eco-friendly, drinking water with a fresh spring taste straight from the tap and you need to replace the filter from time to time to keep it working at highest levels.
Here’s how to replace the filter and reset the system – it’s all very simple!
Your Grohe Blue, with its beautifully designed tap features a revolutionary high-performance filter and the quantity of litres you get will vary slightly, depending on the carbonate hardness of the water.
While the small filter lasts for up to a year, you can choose a medium size that gives 1500 litres of filtered water, right up to a large filter that provides 3000 litres.
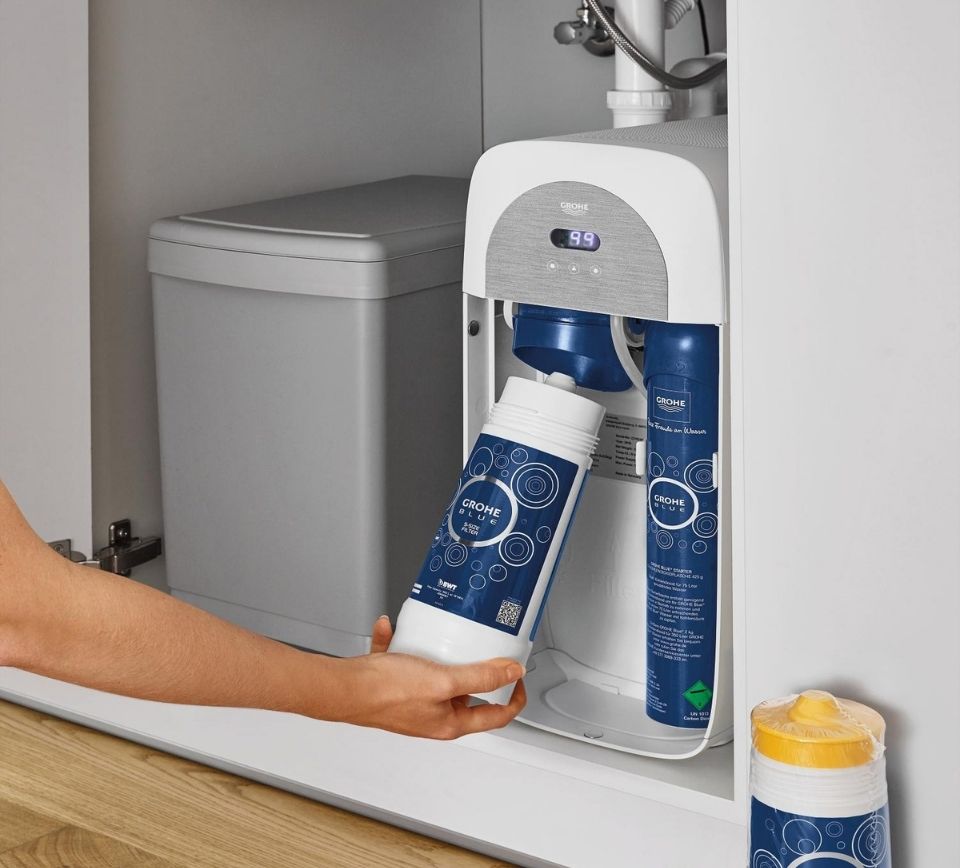
When it comes to replacement time, you don’t have to turn off the mains as there are isolating valves built into the filter head so when the filter is removed, it automatically shuts off the water.
When it’s time to replace the Grohe Blue filter, this is what you do:
- Remove the lock and disassemble the filter.
- Mount the new filter and lock it.
- Keep your finger on the red LED until this lights up and tap 2 times on the red LED.
- Then tap again 2 times on the red LED, the green LED will blink 2 times for confirmation.
- The filter is replaced.
Here’s a helpful video on changing your filter:
You then flush the filter:
- Put a bucket under the filter.
- Open the tap.
- Push the button on the filter and flush for a minimum of 2 litres.
- Close the tap.

How to set/reset the capacity of the Grohe Blue filter
- Keep your fingers on the red and green LEDs until they light up, the handle will blink red.
- Open the handle and place the Grohe carafe under the tap.
- Fill the carafe with water and turn the handle back.
- Confirm the setting by tapping 2 times on the red LED.
- The red and green LED will blink simultaneously and the LED in the handle goes out.
- The capacity is set.
